Ultimate Guide to Choosing the Right Corner Braces for DIY Home Projects
When embarking on DIY home projects, selecting the appropriate materials is crucial for ensuring the structural integrity and aesthetic appeal of your work. Among the myriad of options available, corner braces stand out as a vital component for providing stability and support in various applications, from shelving to furniture assembly.
 According to a report by the Home Improvement Research Institute, the demand for corner braces has surged by over 25% in the past five years, reflecting the growing trend of home improvement initiatives among consumers. These versatile hardware pieces not only enhance the durability of constructed items but also simplify the assembly process, making them a preferred choice for both novice and experienced DIYers. As such, understanding the types and specifications of corner braces becomes essential in ensuring your projects meet both functional and aesthetic standards.
Understanding Different Types of Corner Braces for Home Projects
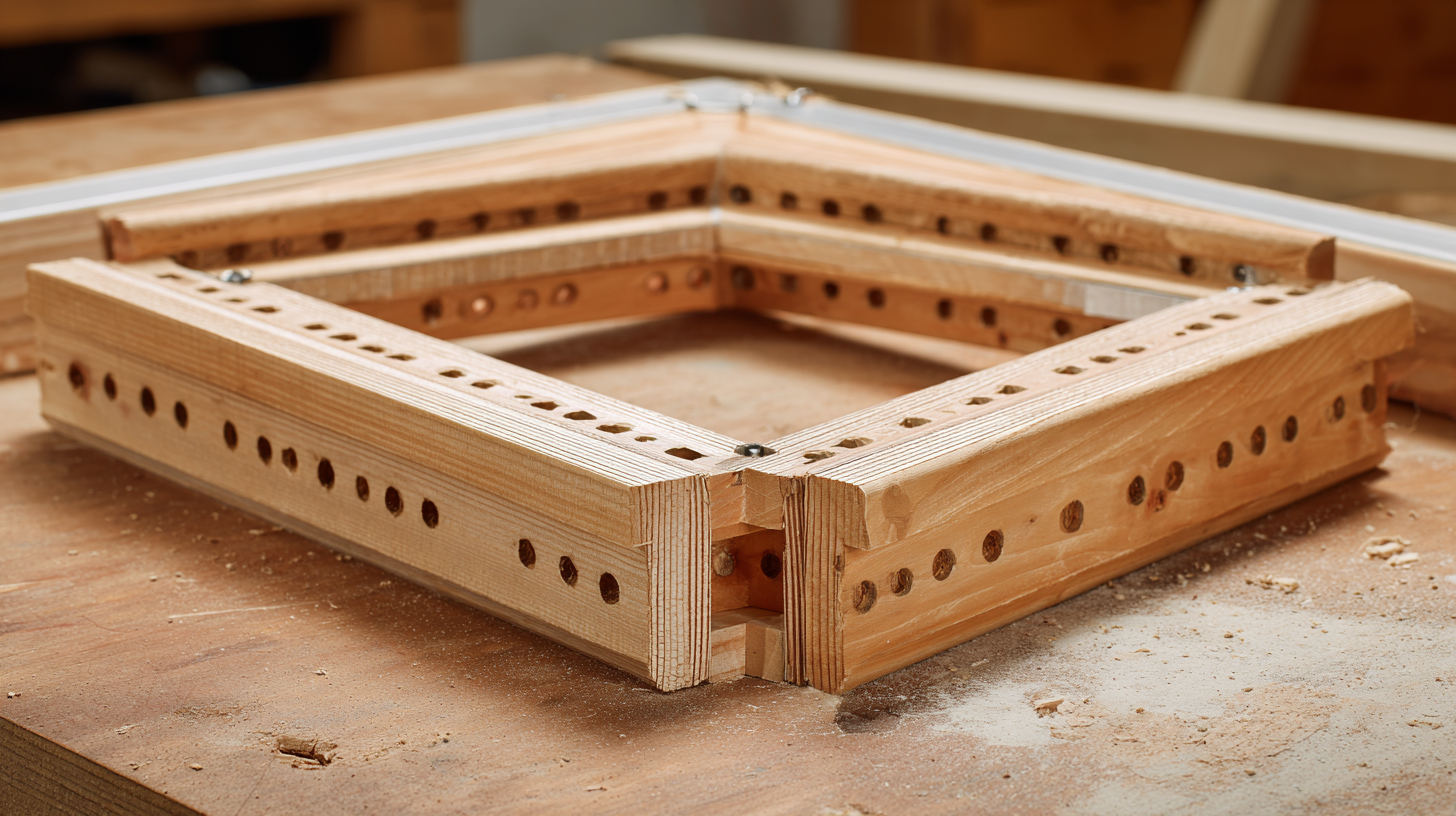
When embarking on DIY home projects, selecting the appropriate corner braces is crucial for ensuring structural integrity and durability. Corner braces come in various types, each suited for different applications. L-brackets are among the most common and are perfect for adding strength to right-angled corners. They are typically made of metal or heavy-duty plastic, providing excellent support for shelving, furniture, and framed structures.
Another popular option is the triangular corner brace, which offers enhanced stability. This type is particularly advantageous for larger projects that require extra reinforcement, such as building frames or assembling cabinets. Their design allows them to distribute weight more evenly, reducing the risk of sagging or warping over time. Additionally, there are decorative corner braces that not only serve a functional purpose but also enhance the visual appeal of furniture and structures, making them a great choice for aesthetic-conscious DIYers. Understanding these different types will enable you to make informed decisions and achieve the best results in your home improvement endeavors.
Key Factors to Consider When Selecting Corner Braces
When selecting corner braces for your DIY home projects, there are several key factors to consider to ensure both
functionality and aesthetic appeal.
First, assess the material of the braces; steel and aluminum are
popular choices due to their strength and durability, but they can also vary in weight and resistance to rust, which is
important for outdoor applications. Additionally, consider the size and design of the braces, as these can influence
not just structural integrity, but also the overall look of your project.
Another crucial factor is the load capacity that the corner braces can support.
Make sure to match this capacity with the weight of the materials you are planning to use. For instance, a heavier piece
of furniture will require sturdier braces compared to a lightweight shelf. Furthermore, installation ease should not be
overlooked; look for braces that come with clear instructions and necessary hardware to simplify the process. By
carefully evaluating these factors, you can confidently choose the right corner braces for your next project.
How to Measure and Install Corner Braces Correctly
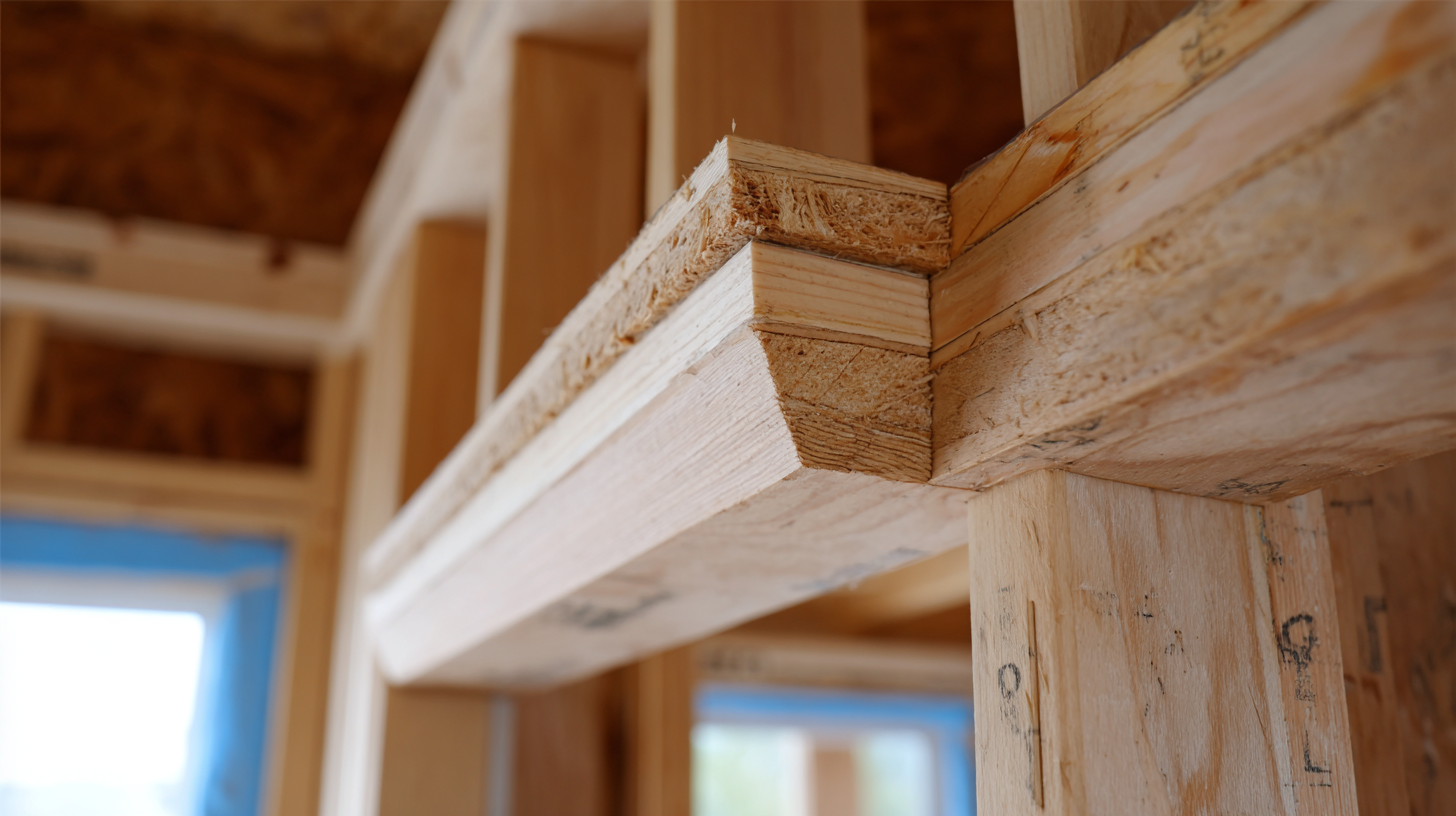
When undertaking DIY home projects, properly measuring and installing corner braces is crucial for ensuring structural integrity. According to a report from the National Association of Home Builders (NAHB), improper installation of hardware like corner braces can lead to significant structural problems, with nearly 25% of home renovations experiencing issues related to frame stability. Thus, accurate measurement is key; begin by determining the size and angle of the corner where the brace will be installed. Use a carpenter’s square to ensure the joints form a perfect right angle, and measure the span where the brace will attach, as this affects the type and size of the brace needed.
Once measurements are taken, it is time to install the braces correctly. The American Wood Council states that corner braces should ideally be installed at a 45-degree angle from the corner stud, effectively transferring loads and providing additional support. Use durable screws, recommended to be at least 1.5 times the thickness of the brace, to ensure a secure fit. After drilling pilot holes, align the brace and fasten it, checking for level as you go. Proper installation not only enhances the stability of your project but also increases its longevity, making it a sound investment in your DIY endeavors.
Maintenance Tips for Ensuring Longevity of Corner Braces
When selecting corner braces for DIY home projects, maintaining the longevity of these essential supports is crucial to ensuring structural integrity. According to the National Association of Home Builders, properly installed corner braces can extend the life of framed structures by up to 20%. Therefore, regular maintenance is key. This includes periodic checks for signs of wear, rust, or loose screws.
Using galvanized or stainless steel brackets can significantly reduce corrosion, thus enhancing their lifespan.
Moreover, routine cleaning should not be overlooked. Dust and debris can accumulate, leading to moisture retention and potential damage. A study by the Home Improvement Research Institute indicates that homeowners who actively maintain their corner braces experience a 30% reduction in overall repair costs.
Utilize a damp cloth for cleaning and ensure that braces are free from mildew or mold build-up. This simple task, combined with an annual inspection, can save time and money, ensuring that your DIY projects remain sturdy and secure for years to come.
Common Mistakes to Avoid When Using Corner Braces in DIY Projects
When using corner braces in DIY projects, avoiding common mistakes can significantly enhance the stability and longevity of your work. One frequent error is neglecting to choose the right size and type of braces for your specific project. Just like in fencing, where properly positioned corner posts are vital for strength, the same principle applies to corner braces. Ensure that the braces you select align with the weight and dimensions of the materials you are using; underestimating this can lead to structural weaknesses.
Another critical mistake is failing to properly secure the corner braces. Many DIY enthusiasts skip essential pre-drilling steps or use inadequate fasteners, thinking it will save time. This oversight can result in misaligned parts or even damage to the materials. To avoid these pitfalls, always follow the manufacturer's guidelines for installation and invest the necessary time in preparation. Additionally, taking the time to double-check measurements before making cuts can save you from costly mistakes and ensure a professional finish.